Contact Us

If you still have questions or prefer to get help directly from an agent, please submit a request.
We’ll get back to you as soon as possible.

Please fill out the contact form below and we will reply as soon as possible.

  • Alder Knowledge Base Home
  • Contact Us
  • Home
  • Cameras
  • Outdoor Camera - Alder

Mounting Outdoor Camera

Updated at August 2nd, 2021

Contact Us

If you still have questions or prefer to get help directly from an agent, please submit a request.
We’ll get back to you as soon as possible.

Please fill out the contact form below and we will reply as soon as possible.

  • Account
  • Alder System
    Installation Using System Arming/Disarming System Troubleshooting
  • Luna Simple Panel
    Installation Using System Arming/Disarming System Troubleshooting
  • FAQ
  • Alder App
    Alder App- Troubleshooting
  • GC2 Panel
    Using the GC2 Panel Troubleshooting the GC2 Panel FAQ - GC2 Panel
  • Cameras
    Outdoor Camera - Alder Indoor Camera - Alder Doorbell Camera How to Use- Cameras Troubleshooting- Alder Camera
+ More

This article will guide you on mounting your outdoor camera

Before Mounting: 

  • Ensure you have first paired your outdoor camera with the Alder App. Click here for instructions. 
  • If you require to get on a ladder or step stool to install the camera high up, please have a second person stabilize the item you will be standing on. We are not responsible for any injuries or damage done to the property or self.   

1611677541402-Outdoor Camera_Perspective1_Edit.png

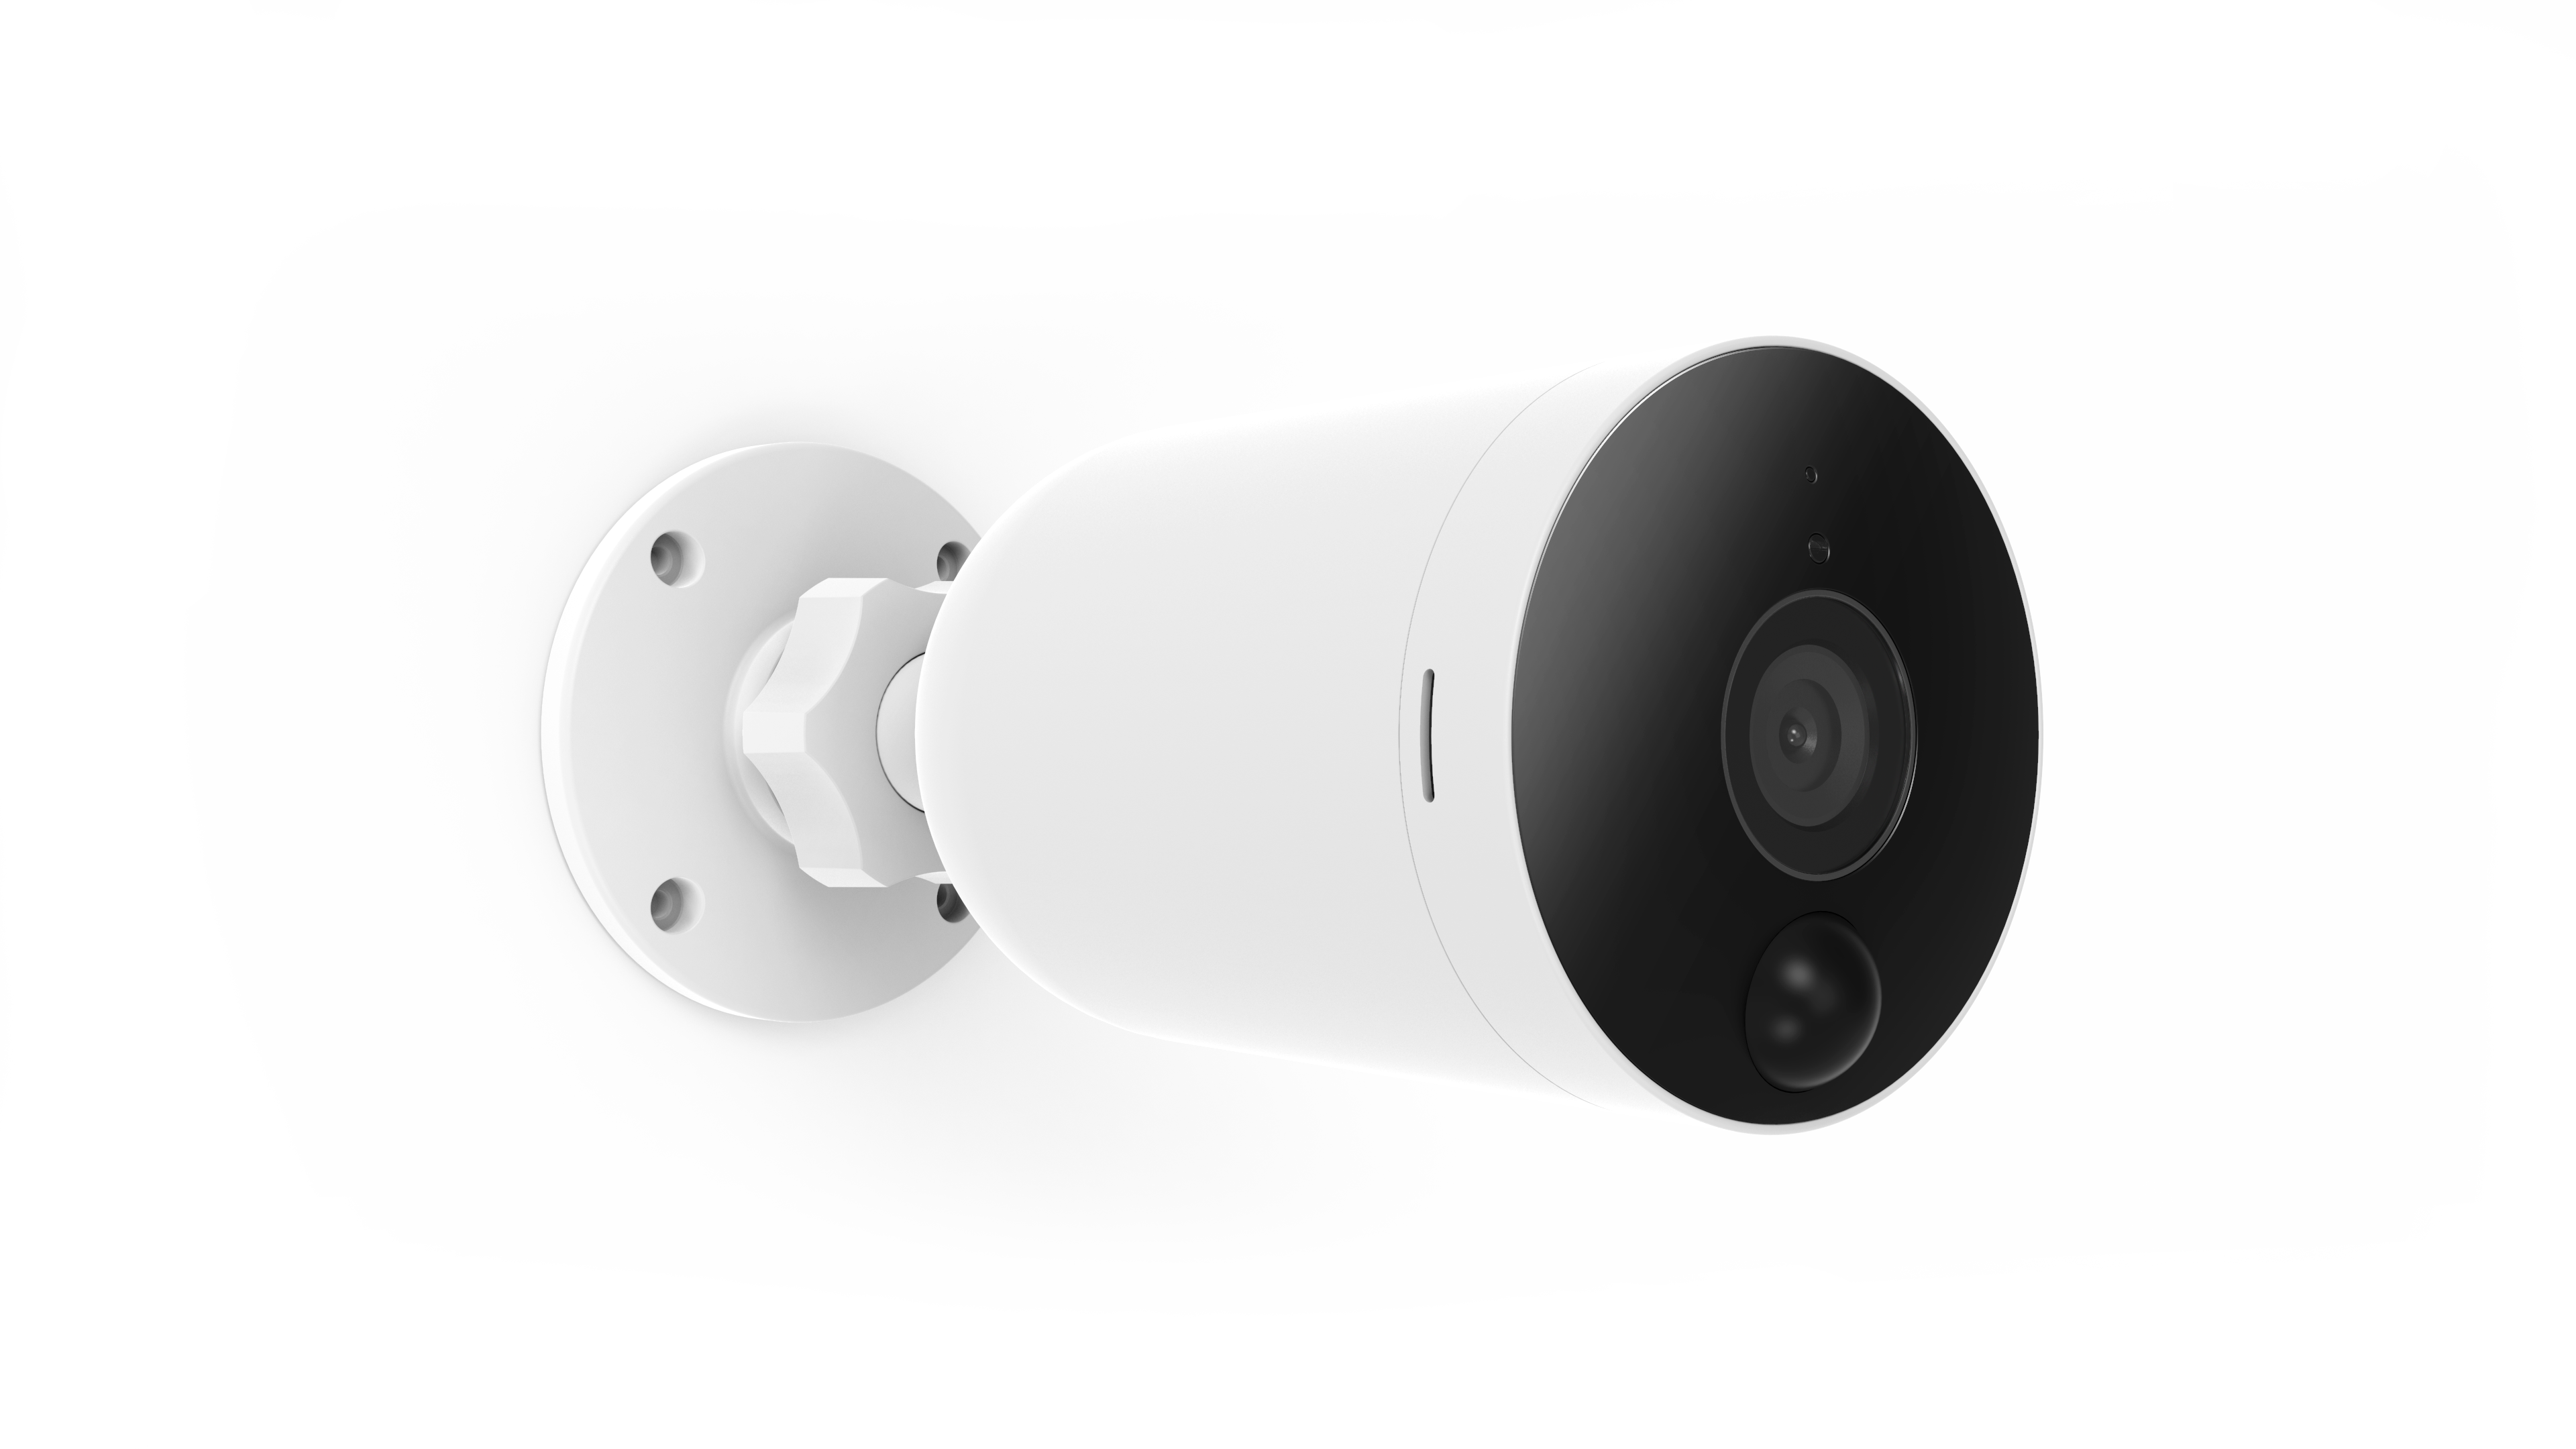
Steps to Install: Use the provided anchors and screws to mount the wall mount base. If the wall is wooden, you can screw the mount directly. 

  • Use the provided anchors and screws to mount the wall mount base. 
  • If the wall is wooden, you can screw the mount directly.
  • Make sure the correct side of the wall mount base faces the wall. Attach your camera to the camera base and secure it by rotating clockwise.
  • Screw the camera on to the base of the mount by twisting the camera onto the screw in a clockwise motion.
  • Adjust the camera's view angle to your preferred position.

While mounting, pay attention to the following: 

  • Avoid installing the camera with the camera lens facing direct sunlight. 
  • Mind any plants or objects that may obstruct the view. 
  • We suggest you mount the camera within a 33 foot (10meter) range of your Wi-Fi router. The shorter the distance between your Wi-Fi router and your camera,the better the performance of your camera. 
  • If you do not want to mount your camera to a wall,use the included camera stand to place your camera anywhere.


mounting outdoor camera installing

Was this article helpful?

Yes
No

Related Articles

  • Setup Outdoor Camera to App
  • Outdoor Camera-FAQ

Services

  • Home Security
  • Home Security Cameras
  • Medical Alert Systems
  • My Account

Company

  • Careers
  • Contact
  • Verify Rep
  • About
  • Blog
  • Locations
800.710.1289

Copyright Alder Holdings, LLC

Privacy Policy | Licensing


Knowledge Base Software powered by Helpjuice

br

Definition by Author

0
0
Expand