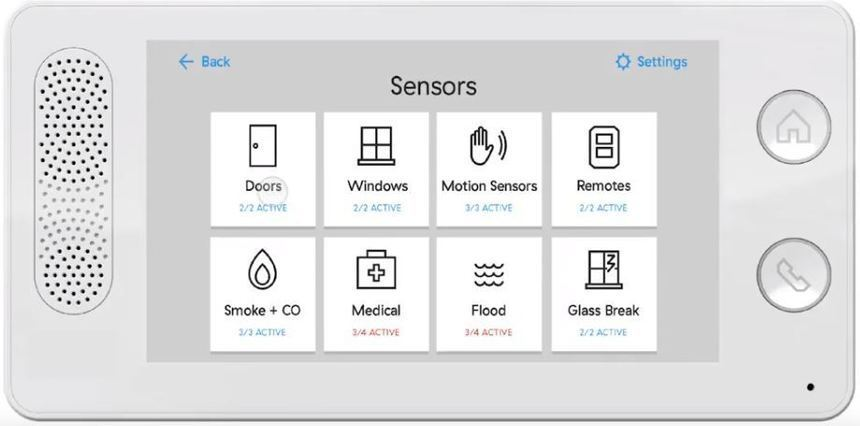
This article is only for situations where you have installed a door sensor on a window or a window sensor on a door. This is most likely to happen if you placed your sensors prior to powering the panel and following the installation instructions provided through the panel. We hope this is never the case but if it is, we have an easy and simple solution.
-
(Optional step) For the easiest experience of renaming your door or window sensor(s), unplug your panel from the outlet and carry it around with you to each sensor that was incorrectly installed.
- Click on "Settings" on the top right corner of your keypad screen
- Type in your four-digit passcode
- Click on the "Sensors" icon
- Now walk to the sensor that was installed on the wrong door or window location
- Open (one sensor at a time) the door or window sensor that was installed on a door or window incorrectly
- On the panel, click on the door or window options that indicate that one of your sensors is open, there should be red lettering under the door or window icon button.
-
Delete the door or window sensor that is open by pressing the X icon next to the sensor, you will be asked if you are sure that you want to remove the sensor. Click "Yes"
- Press the back button on the top left corner of your touchscreen
- Click "Doors" or "Windows", depending on where the sensor is installed
- Click "Add Sensor" and follow the on-screen instructions to add the sensor back to your system
- Repeat the process for each door or window sensor that was installed incorrectly.

