How to add New Sensors
programming new sensors to panel
How to Add Sensors to the Panel
The Articles below will provide step-by-step instructions on how to add individual sensors to your Alder panel.
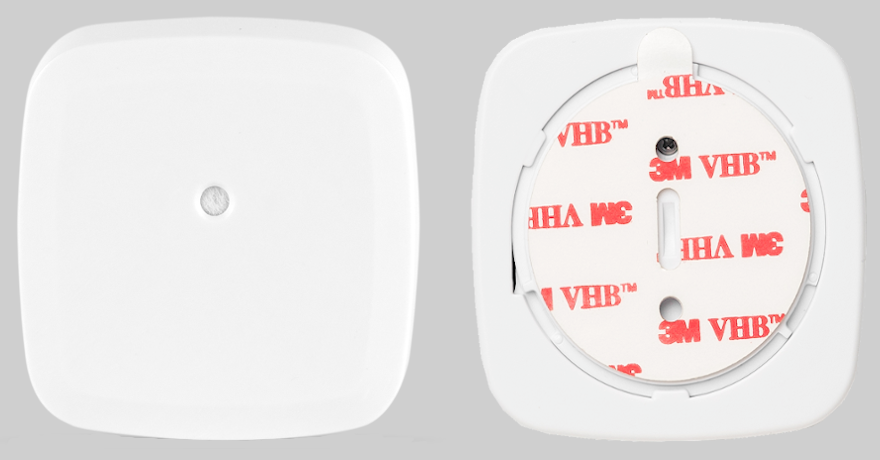
Door Sensor
The video above will walk you through adding your Door Sensors, you can also follow the steps below.
Step by Step Instructions:
- Click "Settings" on the top right-hand corner of the panel touch screen
- Enter your four-digit Master Code
- Click "Sensors"
- Click "Doors"
- Click "Add New Sensor"
Trigger the sensor by separating the two pieces (The panel will indicate the sensor has successfully been added)
- Press "Continue"
- Select a name for the new sensor
- Select "Next"
If you have additional door sensors to add select "Add More Doors" otherwise select “Done Adding Doors”
Window Sensor
The video above will walk you through adding your Window Sensors, you can also follow the steps below.
Step by Step Instructions:
- Click "Settings" on the top right-hand corner of the panel touch screen
- Enter your four-digit Master Code
- Click "Sensors"
- Click "Windows"
- Click "Add New Sensor"
Trigger the sensor by separating the two pieces (The panel will indicate the sensor has successfully been added).
- Press Continue
- Select a name for the new sensor
- Select Next
If you have additional window sensors to add select "Add more Windows" otherwise select “Done Adding Windows”
Smoke/Carbon Combo Detector
Step by Step Instructions:
- Click "Settings" on the top right-hand corner of the panel touch screen
- Enter your four-digit Master Code
- Click "Sensors"
- Click "Smoke + CO"
- Click "Smoke/Heat/Freeze"
- Click "Add New Sensor"
Trigger the sensor by pressing the FIRE test button (The panel will indicate the sensor has successfully been added)
- Press "Continue"
- Select a name for the new sensor
- Select "Next"
- Select "Done Adding Smoke/HF"
- Click "Smoke + CO"
- Click "Carbon Monoxide"
- Click "Add New Sensor"
Trigger the sensor by pressing the CO test button (The panel will indicate the sensor has successfully been added)
- Press "Continue"
- Select a name for the new sensor
- Select "Next"
- Select "Done Adding CO"
If you have additional Smoke/Carbon Combo sensors to add, repeat the steps above.
Smoke/Heat/Freeze Detector
Step by Step Instructions:
- Click "Settings" on the top right-hand corner of the panel touch screen
- Enter your four-digit Master Code
- Click "Sensors"
- Click "Smoke + CO"
- Click "Smoke/Heat/Freeze"
- Click "Add New Sensor"
Trigger the sensor by pressing the test button (The panel will indicate the sensor has successfully been added)
- Press "Continue"
- Select a name for the new sensor
- Select "Next"
If you have additional Smoke/Heat/Freeze sensors to add select "Add More Smoke/HF" otherwise select "Done Adding Smoke/HF"
Carbon Monoxide Detector (CO sensor)
The video above will walk you through adding your Carbon Monoxide Detector, you can also follow the steps below.
Step by Step Instructions:
- Click "Settings" on the top right-hand corner of the panel touch screen
- Enter your four-digit Master Code
- Click "Sensors"
- Click "Smoke + CO"
- Click "Carbon Monoxide"
- Click "Add New Sensor"
Trigger the sensor by pressing the test button (The panel will indicate the sensor has successfully been added)
- Press "Continue"
- Select a name for the new sensor
- Select "Next"
If you have additional Carbon Sensors to add select "Add More CO" otherwise select “Done Adding CO”.
Glass Break Sensor
The video above will walk you through adding your Glass Break sensor, you can also follow the steps below.
Step by Step Instructions:
- Click "Settings" on the top right-hand corner of the panel touch screen
- Enter your four-digit Master Code
- Click "Sensors"
- Click "Glass Break" (this will be the last box on the second row of sensors)
- Click "Add New Sensor"
Trigger the Glass Break by pressing (not holding) the test button on the side of the Glass Break sensor. (The panel will indicate the sensor has successfully been added)
- Press "Continue"
- Select a name for the new sensor
- Select "Next"
If you have additional Glass Breaks to add select "Add More Glass" otherwise select “Done Adding Glass”
Motion Sensor
The video above will walk you through adding your Motion sensors, you can also follow the steps below.
Step by Step Instructions:
- Click "Settings" on the top right-hand corner of the panel touch screen
- Enter your four-digit Master Code
- Click "Sensors"
- Click "Motion"
- Click "Add New Sensor"
Trigger the sensor by pressing the test button on the side of the device (The panel will indicate the sensor has successfully been added)
- Press "Continue"
- Select a name for the new sensor
- Select "Next"
If you have additional Motion sensors to add select "Add More Motion" otherwise select "Done Adding Motion"
Flood + Freeze Sensor
The video above will walk you through adding your Flood/Freeze Sensors, you can also follow the steps below.
Step by Step Instructions:
- Click "Settings" on the top right-hand corner of the panel touch screen
- Enter your four-digit Master Code
- Click "Sensors"
- Click "Flood"
- Click "Add New Sensor"
Trigger the sensor by pressing the test button (The panel will indicate the sensor has successfully been added)
- Press "Continue"
- Select a name for the new sensor
- Select "Next"
If you have additional Flood/Freeze sensors to add select "Add More Flood" otherwise select "Done Adding Flood"
Medical Pendant
The video above will walk you through adding your Medical Pendant. You can also follow the steps below.
Step by Step Instructions:
- Click "Settings" on the top right-hand corner of the panel touch screen
- Enter your four-digit Master Code
- Click "Sensors"
- Click "Medical"
- Click "Add New Sensor"
Trigger the sensor by pressing and holding the center button for 3 seconds (The panel will indicate the sensor has successfully been added)
- Press "Continue"
- Select a name for the new sensor
- Select "Next"
If you have additional Medical Pendants to add select "Add More Medical" otherwise select "Done Adding Medical"
Panic Button
If you would like to set up your medical button as a panic button, you will need to add the sensor in the Remotes section of your sensors. Click here to view how to add a remote.
Key Remote
Key Remotes do not require installation; however, you will need to add your remote to your system. The video above will show you how; when using your remote, remember:
- You can trigger your device by pressing and holding any button for (3) three seconds.
- Remotes have an operating range of approximately 100ft from the Touch panel.
Step by Step Instructions: Adding Remote
- Click "Settings" on the top right-hand corner of the panel touch screen
- Enter your four-digit Master code
- Click "Sensors"
- Click Remotes this will be the last button on the top row
- Click "Add New Sensor"
- Trigger the Remote by pressing and holding any button for three seconds (The panel will indicate the sensor has successfully been added)
- Press Continue
- Select the name of the Remote
- Select Next
If you have additional Remotes to add select "Add more Remotes" otherwise select “Done Adding Remotes”