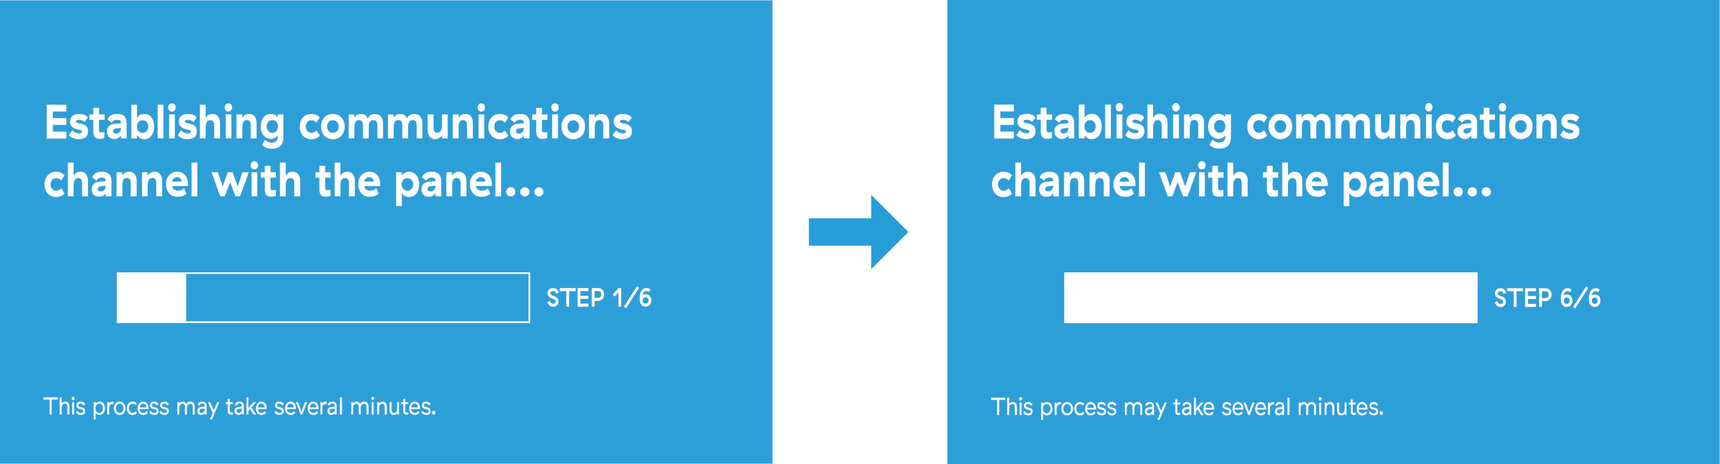
Contact Us

If you still have questions or prefer to get help directly from an agent, please submit a request.
We’ll get back to you as soon as possible.

Please fill out the contact form below and we will reply as soon as possible.

  • Alder Knowledge Base Home
  • Contact Us
  • Home
  • Luna Simple Panel
  • Installation

Stuck During Setup Process Step 1-6

Updated at September 16th, 2020

Contact Us

If you still have questions or prefer to get help directly from an agent, please submit a request.
We’ll get back to you as soon as possible.

Please fill out the contact form below and we will reply as soon as possible.

  • Account
  • Alder System
    Installation Using System Arming/Disarming System Troubleshooting
  • Luna Simple Panel
    Installation Using System Arming/Disarming System Troubleshooting
  • FAQ
  • Alder App
    Alder App- Troubleshooting
  • GC2 Panel
    Using the GC2 Panel Troubleshooting the GC2 Panel FAQ - GC2 Panel
  • Cameras
    Outdoor Camera - Alder Indoor Camera - Alder Doorbell Camera How to Use- Cameras Troubleshooting- Alder Camera
+ More

Stuck During Setup Process Step 1-6


  If you are having trouble with your installation, this article aims to:

  • Explain the different steps of pre-installation
  • Troubleshoot your panel if it gets stuck on one of the first six steps

Pre-Installation Steps

Your Alder system has arrived, and your first step is to plug in the panel. Once your panel has powered on the screen will turn blue and the panel will begin with steps one of six:

  1. Step One: Establishing communication with cell tower
  2. Step Two: Panel connecting to the network
  3. Step Three: Panel registered to server & able to send data to the server
  4. Step Four: Panel received acknowledgment from the server that the system is registered
  5. Step Five: Panel gets IP from Server
  6. Step Six: Panel connects to the server and is online

Troubleshooting Steps

Depending on which part of the installation you get stuck on, your best option is to reset the panel. For troubleshooting steps specific to each step, please view the list below:

  1. Step 1-3: Unable To Establish Connection
    • Our panel communicates with our monitoring station through a cell chip in the back of each of our panels. If you have just plugged in your panel but are having trouble passing the steps 1-3,  please call for support.
  2. Step Four: Call support and verify with them that the Interactive ID (serial number) is the same in our system as on the back of your panel
  3. Step Five & Six: Perform a Hard Reset on your panel

Once your panel powers back up, it should proceed through Steps 1-6 with no additional issues. If your panel skips to the "I'm Ready to Arm Screen"; you can use the articles below to make sure your sensors get installed correctly. Afterward, you will need to Call Support to have your system activated in the Monitoring Station.

Completing Installation

If your panel did not take you through the installation wizard after powering back on, be sure that:

  • All of your sensors are added to and respond to the panel. You will also want to install your sensors once you know where they should be placed. After all of your sensors are installed, test your system.

This article for troubleshooting sensors that will not verify during installation will help you complete your installation.

installation error setup

Was this article helpful?

Yes
No

Related Articles

  • Powering the Luna Simple Panel
  • Where to install? - Luna Simple Panel
  • Install & Setup- Luna Simple Security System
  • Add New Sensors (to panel)

Services

  • Home Security
  • Home Security Cameras
  • Medical Alert Systems
  • My Account

Company

  • Careers
  • Contact
  • Verify Rep
  • About
  • Blog
  • Locations
800.710.1289

Copyright Alder Holdings, LLC

Privacy Policy | Licensing


Knowledge Base Software powered by Helpjuice

br

Definition by Author

0
0
Expand