Install Doorbell Camera
mounting and installation of your doorbell camera
The article will guide you through the mounting/installation of your doorbell camera.
Alder provides two Doorbell camera options: Kami Doorbell and the Skybell Doorbell
Pre-Install Checklist
1. Check for Working Chime
2. Inspect Doorbell Wiring
Remove the existing doorbell button from its mounting location to inspect for wires. Next, check the chime. A chime that plugs into a power outlet instead of being hardwired into the home might be incompatible with a Doorbell Camera.
3. Verify Chime
Before installing your Alder Doorbell Camera, inspect your existing chime to verify compatibility. Certain types of chimes are NOT compatible.
If the chime has metal bars and a striker pin, it is mechanical and will be compatible with the Alder Skybell Doorbell Camera.
If the chime has a speaker that plays a digital tone, it is NOT currently supported in the Alder system.
If the chime has a series of tubular bells, it is a tube chime and is NOT compatible with the Alder system.
Installing the Alder Skybell Doorbell Camera with no chime is NOT currently supported in the Alder system.
4. Verify WiFi and WiFi Password
Your internet service must include WiFi with upload speeds of at least 2 Mbps and a strong enough signal to reach the Doorbell Camera's mounting location. You'll need your WiFi password to complete the installation.
5. Mounting Hardware
The Doorbell Camera uses the existing doorbell wiring and comes with a mounting plate with hardware to attach it to a flat surface. Installing the mounting plate may require a power drill.
6. Mobile App Login
Download the Alder app and log in to be ready for pairing the Doorbell Camera with your security system during final installation.
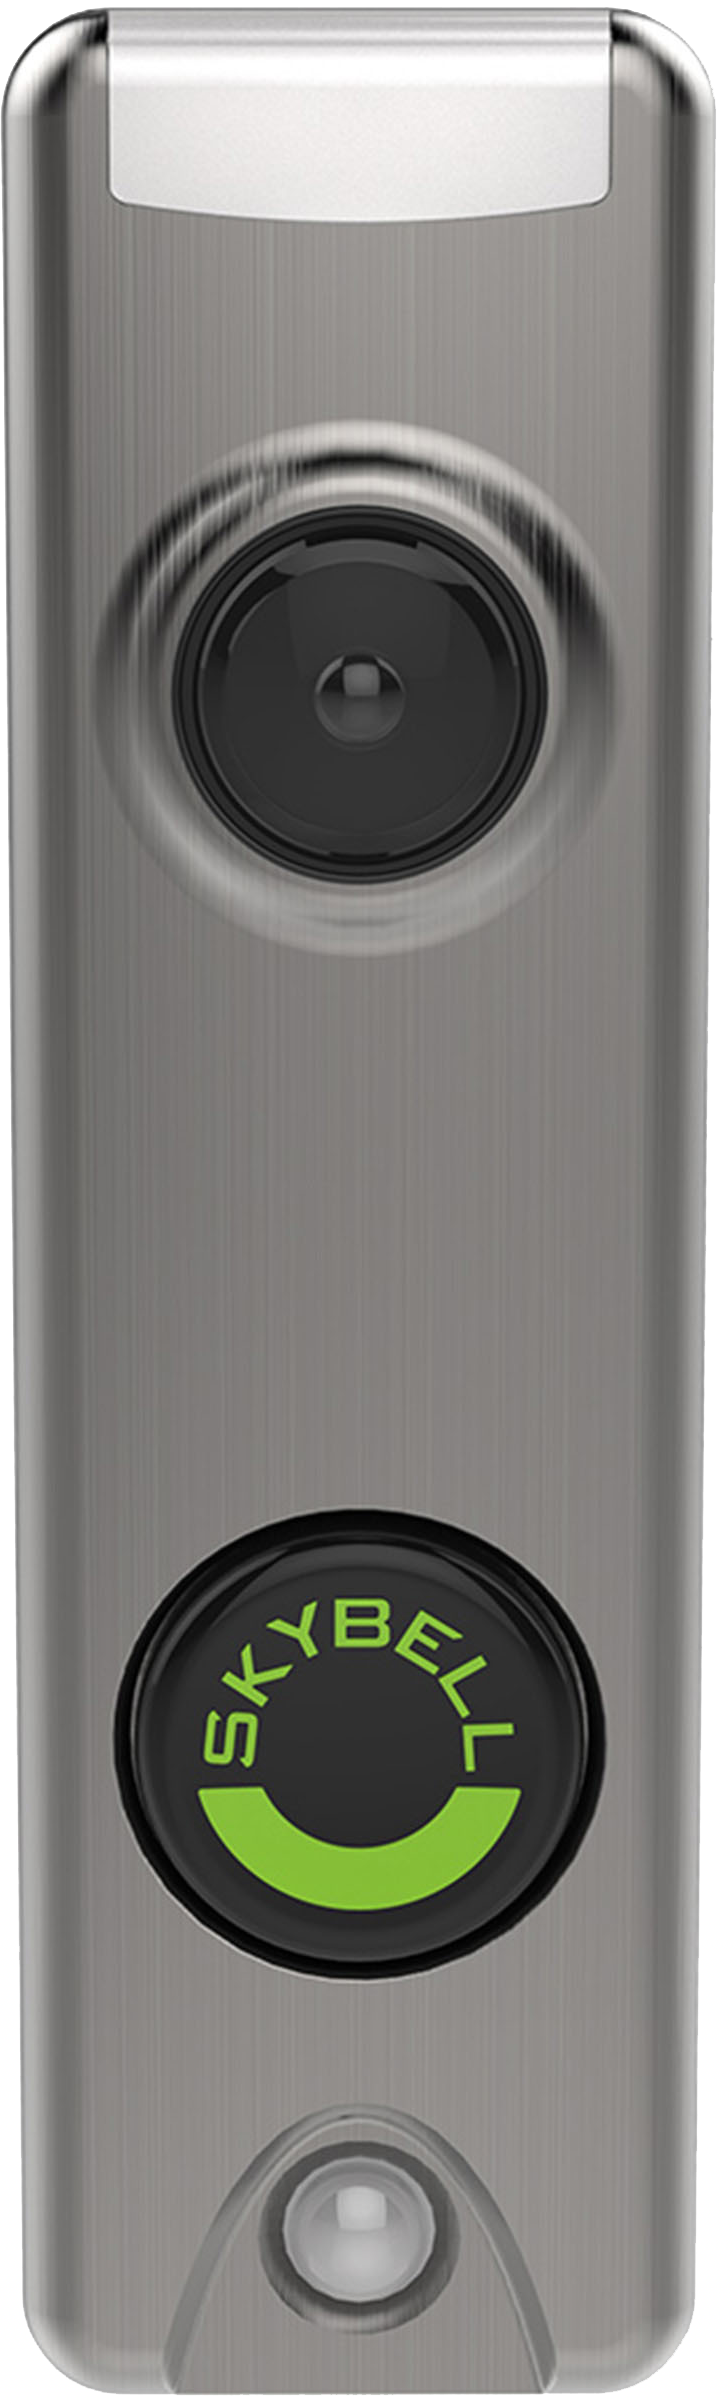
SkyBell Doorbell
The article will guide you through the mounting/installation of your doorbell camera.
Remember to switch off your doorbell circuit breaker before installing your doorbell camera.
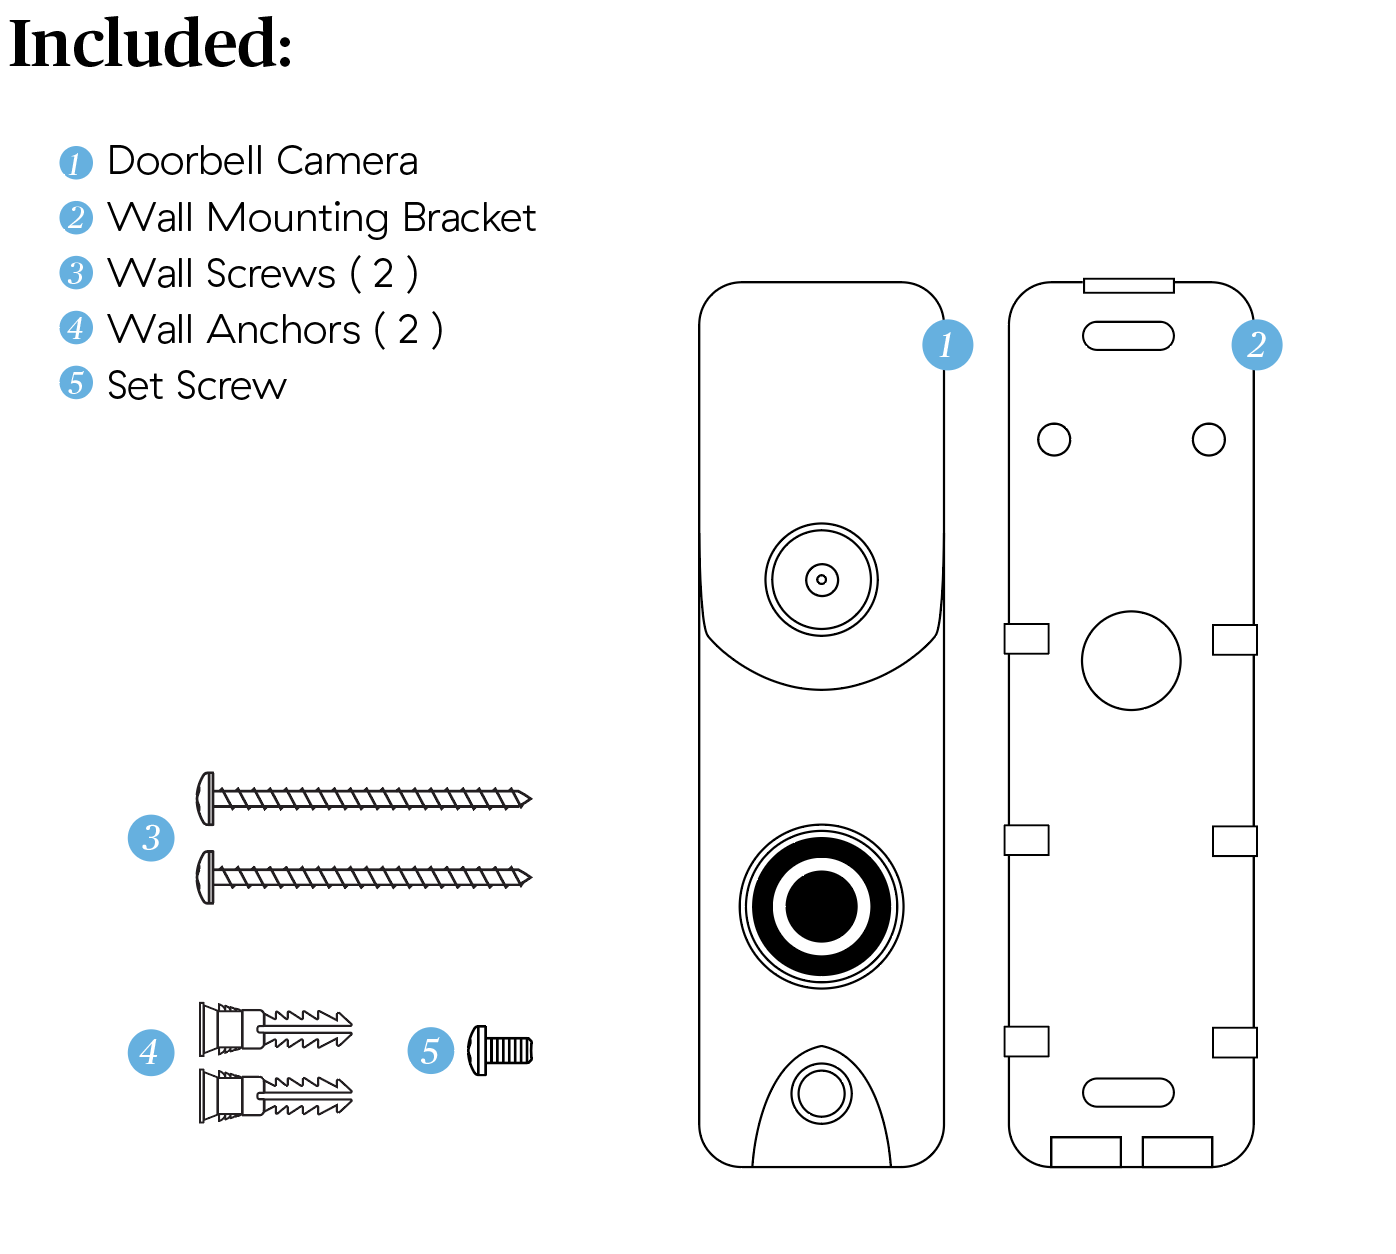
What's in the Box
1. Carefully remove the existing doorbell button from its wall mounting.
Disconnect the wires taking care not to let them slip down into the wall.
2. Attach Doorbell Camera mounting bracket.
Feed the existing doorbell wires through the hole in the center of the Doorbell Camera mounting bracket. Then, attach the bracket to the wall by driving the provided screws through the bracket's top and bottom holes. (May require power tool)
3. Connect power wires to the mounting bracket.
Loosen the terminal screws and wrap the bare ends of the doorbell wires around the screw shafts below the heads. Take care not to touch wires together. Tighten the screws.
4. Attach the Doorbell Camera to the mounting bracket.
Press the Doorbell Camera body over the mounting bracket until it's snugly in place. Use a small screwdriver (not a power tool) to tighten the set screw on the bottom of the Doorbell Camera body.
5. Switch the circuit breaker back on.
With power restored, you should see the Doorbell Camera's LED illuminating. The Doorbell Camera will flash blue when the built-in backup battery is charging. Once the backup battery is fully charged, LEDs will alternate between red and green. The Red/Green flashing signal means the camera is now ready to sync to your Alder account!
Syncing to The Alder APP
With Skybell's LEDs flashing Red/Green, follow these steps to sync it with your Alder Home Security account:
1. Open the Alder app and log into your account.
2. Tap the camera icon at the bottom right corner of the home screen. This will take you to the Add Cameras screen.
3. Tap the + button on the Add Cameras screen. This will show you a menu of camera options.
4. Tap the Skybell Doorbell image from the camera options menu. Then you'll be asked to name your doorbell camera.
5. After typing your Skybell's name, tap Continue. This will take you to the screen where you add Skybell to your system.
6. Tap Begin on the Add a Skybell screen to start syncing. It may take a couple of minutes to finish.
7. While Skybell is still in Sync Mode (flashing red/green), click Continue.
8. Navigate to the WiFi settings in your phone and select Skybell HD network, then return to the Alder app.
9. Be sure to give the Alder app permission to connect to devices on your local network.
10. In the WiFi networks menu, choose your home network, enter your password, and press Connect.
Your Alder Skybell Doorbell Camera should now be ready to use.
Click LED Reference Guide for understanding the Skybell lights
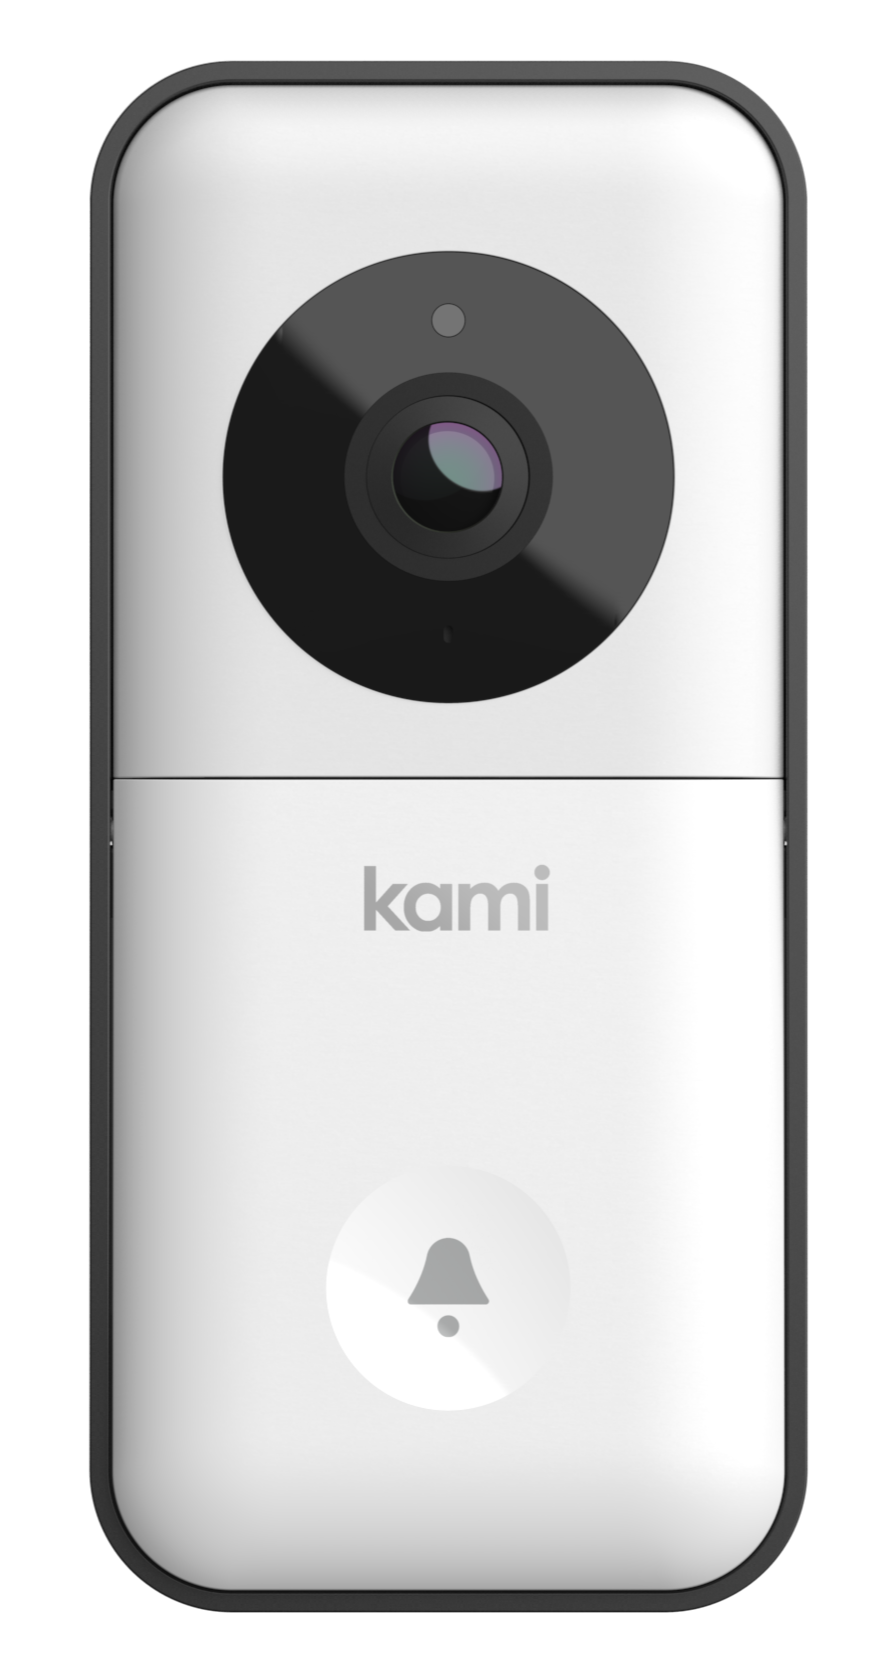
Kami Doorbell
The article will guide you through the mounting/installation of your doorbell camera.
What's in the Box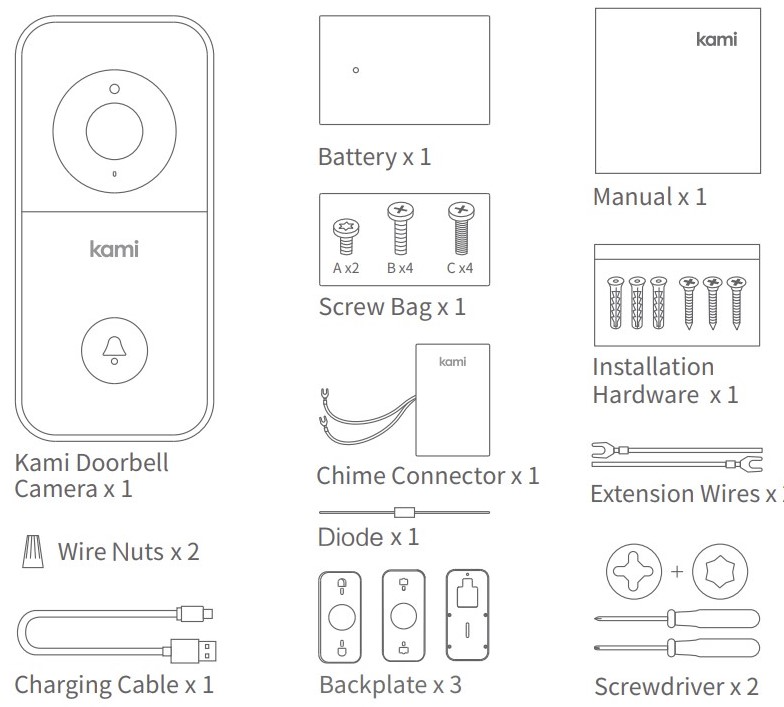
Before you begin
-
Charge and Insert Batteries (NOTE: must be fully charged before installation)
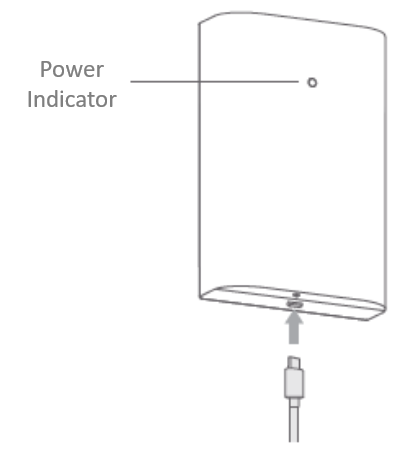
- Charge battery with a micro USB cable and power adapter. The indicator light will begin to flash while charging and turn green once its fully charged
- Remove Protective Cover- Press down with your thumbs and pull back the protective cover
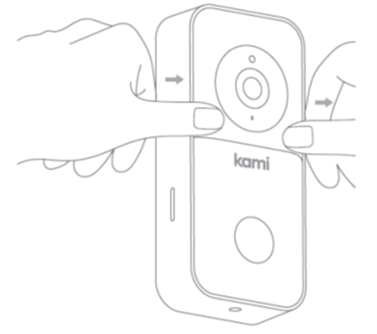
- Insert Battery- Push the battery into the battery compartment as shown. The light will flash yellow and say "waiting to connect". You can then proceed to the next step
- Charge battery with a micro USB cable and power adapter. The indicator light will begin to flash while charging and turn green once its fully charged
- Add the camera to the Alder app. For instructions click here
Installation
*Please make sure the power for the doorbell is switched off before you begin!
1. Remove Existing Doorbell: If you have an existing doorbell, remove the existing doorbell and disconnect the wires.
2. Door Chime Setup: There are two options for doorbell replacement installation
- Electronic - An electronic doorbell chime plays pre-recorded digital tones through an electronic speaker and often has a selection of different tones you can choose from
- Mechanical - a mechanical chime creates its sound by using a physical bell and a mechanical hammer and makes a traditional "ding-dong" sound.
Choose installation option for doorbell replacement installation:
Installing the included chime connector will ensure a stable power supply to your doorbell and prevent the mechanical doorbell from buzzing.
- Install the chime connector if you wish the mechanical chime to ring when your doorbell is pressed. Simply connect both of the chime connector wires to the existing wires on your doorbell (they are universal so can be connected to either terminal. (see connection method #1)
- If you do not wish to have the mechanical doorbell make a sound anymore simply disconnect the existing wires from the doorbell and wire nut them together (see connection method #2). Note: doing this will not affect the Alder doorbell chime
Diode Installation:
- If you want to connect your doorbell to an existing electronic bell you will need to install the Diode. DO NOT install a diode if you are using a Mechanical doorbell. This will damage the existing doorbell
Note: If your doorbell chime is not making a sound click this article for troubleshooting steps
3. Backplate Installation
- Height and Distance: the optimal capture range is 0-12 feet. We recommend you install the doorbell at a height of 4 feet to ensure the ground of your front door area can be captured.
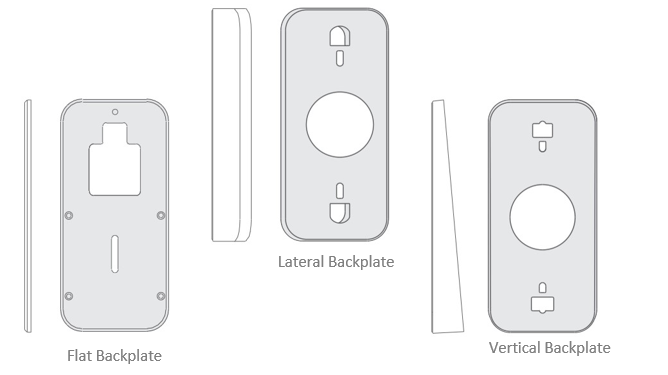
- Installation Angle: Your Doorbell Camera comes with three different backplates (flat, lateral, and vertical) that will allow you to place your camera at your desired angle
- Screw-in Backplate: Mark holes using the appropriate backplate and screw (if wood) or drill holes (use wall anchors) into the wall
4. Connect Wires to Camera: Connect the wires coming out of the wall to the screws on the back of the doorbell (any wire can be connected to any screw). If necessary, use the included extension wires
5. Attach the camera to the backplate: Feed all wires and nuts into the wall and use the four screws to secure your doorbell to the wall
6. Attach Doorbell Cover: Reattach the protective cover and use the mounting screw to secure the camera
7. Turn on Power: please with the power back ON and test the connection of your cameras. If the indicator light is white the camera is working